*This feature must be activated in your user profile by your Manager.
Reference Article: How to Enable Updating Appointment Status for Other Agents
This article explains the steps to follow to update appointments for other users in your department. This includes Confirming, Cancelling, and Rescheduling appointments.
From the Agent Console, select Appt MGMT

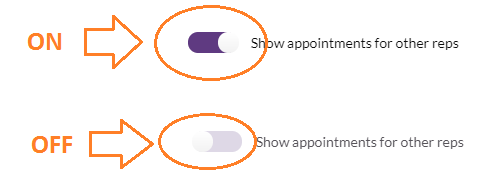
To view pending appointments for other agents, click on the toggle button "Show appointments for other reps" to show their appointments in your Pending Appointments list.
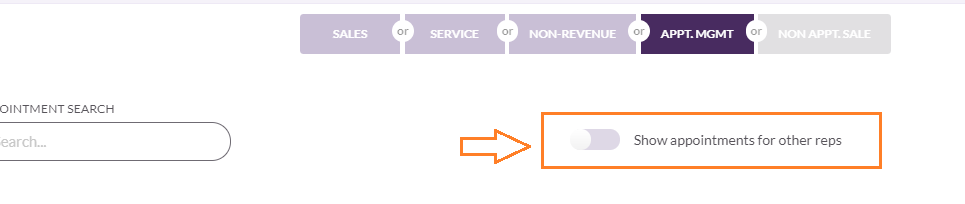
IF YOU DO NOT SEE THIS TOGGLE, STOP. THE MANAGER HAS TO ACTIVATE THIS FEATURE IN YOUR USER PROFILE.
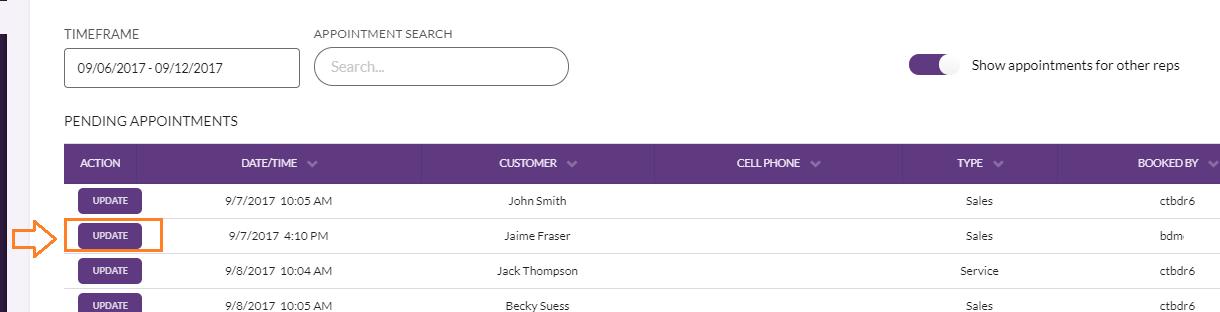
To search for a specific appointment, use the Timeframe box or Appointment Search bar to locate the appointment.
Only pending appointments that have NOT yet been confirmed will show in the Pending Appointments list. To confirm an appointment, select the appointment by clicking on the Update button under the Action column.
Select Update in the Action column to manage the appointment.
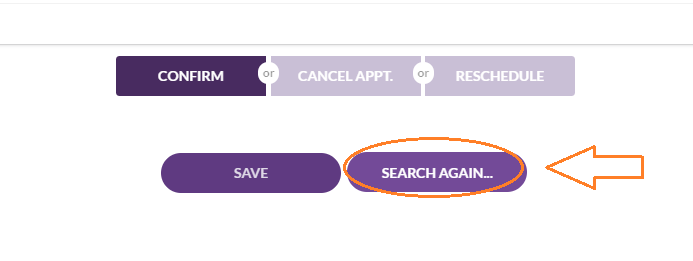
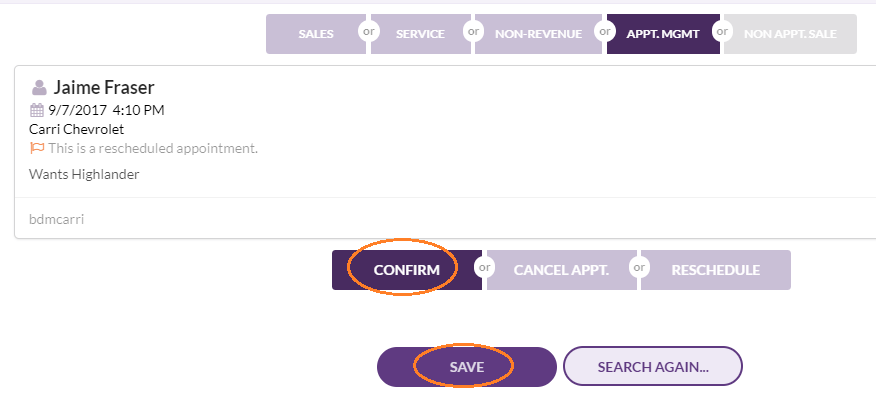
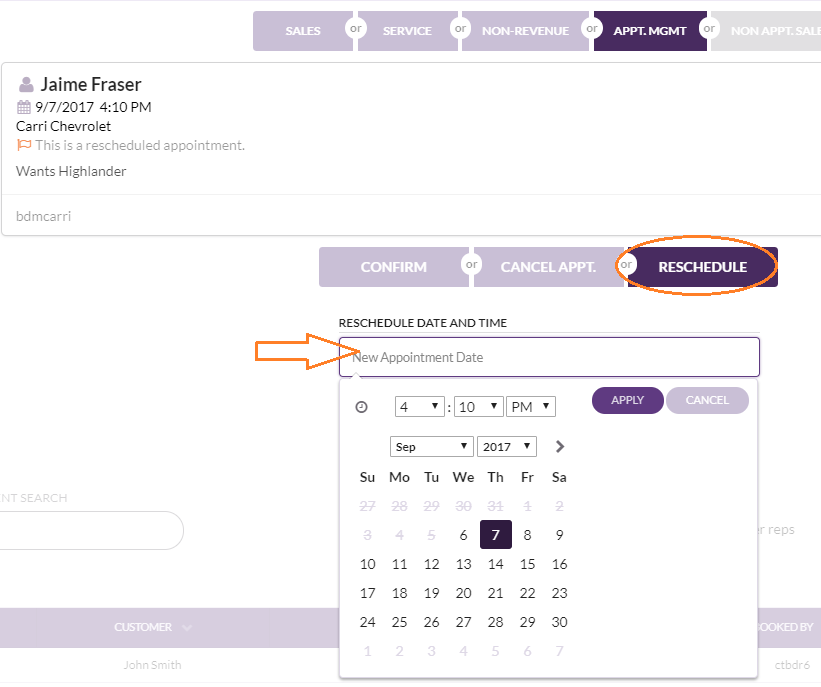
The selected appointment opens in a new pop-up box. From the pop-up box, the appointment can be Confirmed, Cancelled, or Rescheduled.
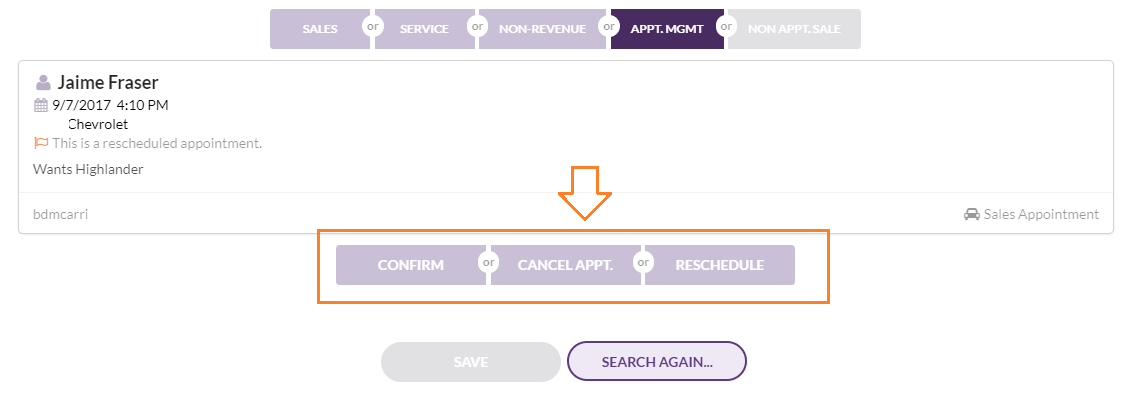
To Confirm the appointment, select Confirm and save. Once the appointment has been confirmed it is removed from the appointment confirmation list. This does not delete the appointment. It can still be located in both the Activity Log and Opportunity Log.
If the customer wishes to cancel their appointment, select Cancel Appt. and save.
If the customer would like to reschedule their appointment, select Reschedule. Then click on the New Appointment Date box to change the appointment date and time. Finally, select Save to reschedule the appointment for a future date.
To back out of the appointment and make no changes to the selected appointment, select Search Again. This action leaves the pending appointment unchanged and in the list of appointments to be confirmed.