This article explains how Receptionist users can update the Show status of an appointment. Appointments can only be updated by Receptionist users on the day the appointments are scheduled to occur.
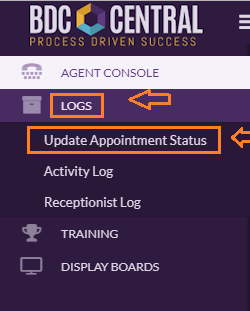
From the Menu Navigation Bar, select Logs, then select Update Appointment Status.
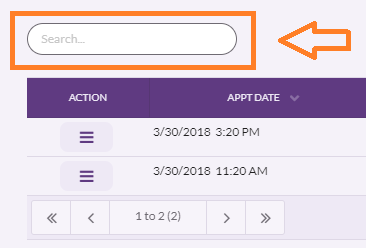
Once the Update Appointment Status Log is opened, it lists all Sales & Service appointments scheduled for "Today".

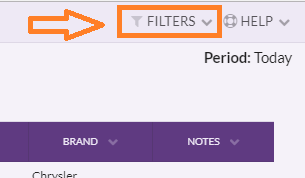
Filters can be used to adjust which department appointments are shown in the list. To change the filter selections, click on FILTER in the upper right corner of the page.
Once the Filter options are opened, the department Type drop-down selection box appears to the left.

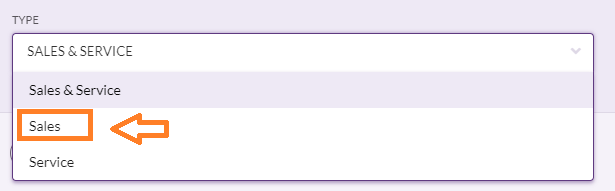
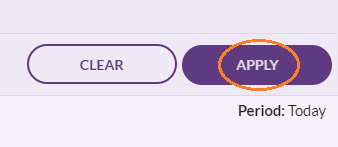
After selecting desired department Type (Sales & Service-default, Sales, Service), Click on Apply to make filter changes.
To search for specific appointments, use the Type-to-Search bar
Updating Appointments
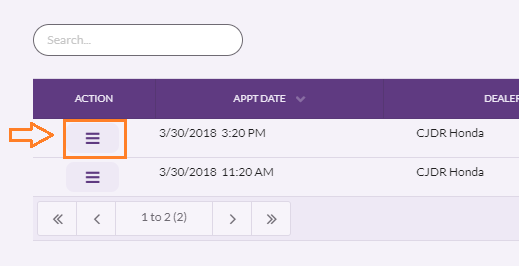
To update the status of an appointment, select the Action Button to open the appointment status selection options.
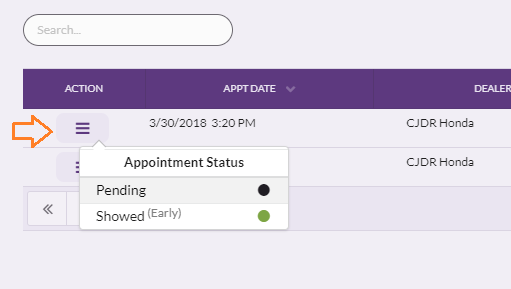
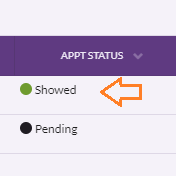
To change the appointment status from Pending to Showed, click on Showed. Note, if the customer arrives prior to their scheduled appointment time, the Appointment status selection for Showed say "Showed (Early)".
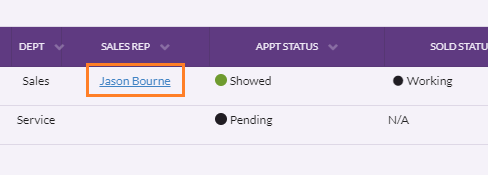
After updating the appointment status to Showed, the list will now show the change in the Appt Status column

Assigning Sales Reps
Receptionist user roles also have the ability to assign a Sales Rep to the appointment. To assign a Sales Rep to an appointment, click on the blue hyperlink "Unassigned" in the Sales Rep column.

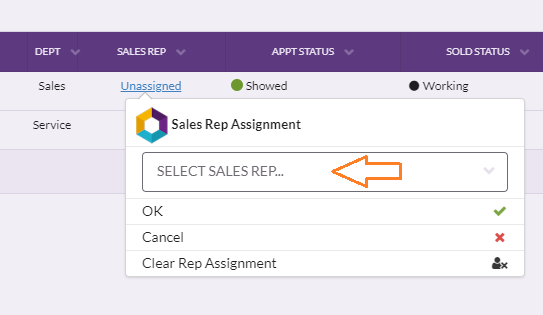
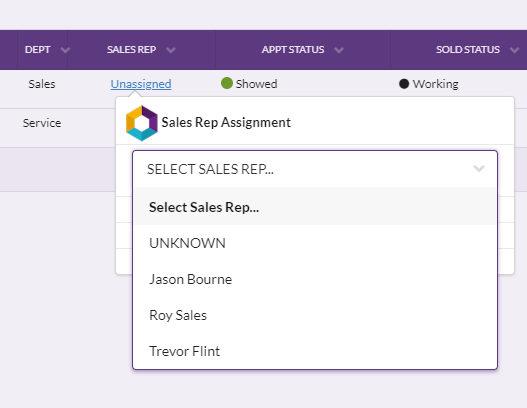
This opens a drop-down box with a list of Sales Reps available for selection. Click on the assigned Sales Rep's name and select OK.
Note: If the Sales Rep does not appear in this list, confirm the user has been created in the Admin-Users list (Only managers can create Sales Manager users and view their profiles)
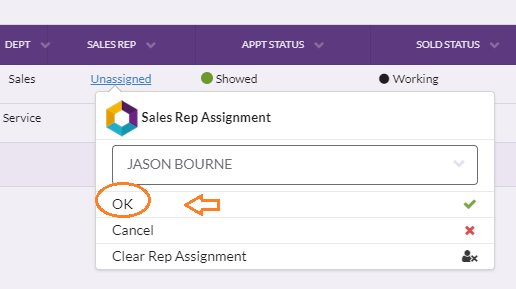
Once the Sales Rep has been selected, the assigned Sales Rep can be viewed in the Appointment List.